How to Design a Creature From Scratch: A Complete Beginner’s Guide
Creature design becomes easier when you stop asking what looks impressive and start asking how an animal lives. Habitat, food, movement, senses, competition, and social behavior create useful pressures. Those pressures suggest anatomy, which shapes silhouette, surface, color, and performance. The result can be fantastical without feeling arbitrary. This beginner’s guide develops a creature from its ecological role outward. You will write a niche statement, gather functional references, build a skeletal plan, choose locomotion, design feeding and sensory systems, explore silhouettes, establish behavior, and test the idea in two and three dimensions. The approach works for illustration, animation, games, practical effects, puppets, and animatronics. It is not a claim that invented biology must follow Earth exactly. Plausibility is a design tool: when related features support one another, audiences accept the unfamiliar more quickly and collaborators can build or animate the creature with fewer contradictions.
A: They need internally consistent anatomy that supports the movements, behavior, and world rules shown to the audience.
A: Use only as many references as needed, studying specific functions rather than assembling recognizable body parts.
A: Start with habitat, body plan, and silhouette so the head belongs to a functioning animal.
A: Yes, if the skeletal layout, gait, balance, and developmental logic remain consistent within the fictional world.
A: Its mass, flexibility, attachment, and motion should support balance, propulsion, display, defense, or another defined function.
A: Consider available food, terrain, heat management, movement, threats, story role, and production scale together.
A: Rest reveals weight distribution, protection, comfort, and how the body occupies space between actions.
A: After large anatomy, joint placement, silhouette, and material zones work from all required views.
A: No. Biological features often serve several roles, but each should have understandable costs and consequences.
A: Begin with an uncommon ecological problem and develop its consequences instead of combining famous creature silhouettes.
Start With a Niche, Not a Monster List
Write one sentence describing where the creature lives, what it does there, and the pressure that makes its life difficult. For example: “A dog-sized amphibious browser crosses unstable mangrove roots at dusk while protecting moisture-sensitive skin.” That sentence suggests scale, foot design, balance, activity time, senses, surface, and behavior.
Add the intended audience impression separately. You may want the animal to feel cautious, majestic, comic, or unsettling, but emotional goals should shape how functional choices are presented rather than replace them. A cautious creature might have wide sensory coverage and a low resting pose; those same features can still be biologically useful.
Establish Scale and Energy Needs
Place the creature beside a person, plant, doorway, prey item, or terrain feature. Size affects food demand, heat exchange, speed, structural loading, and how close an audience can safely feel. Decide whether it sustains long activity, uses brief bursts, remains mostly stationary, or changes metabolism by season. Energy strategy prevents every feature from operating at maximum intensity all the time.
Collect References by Function
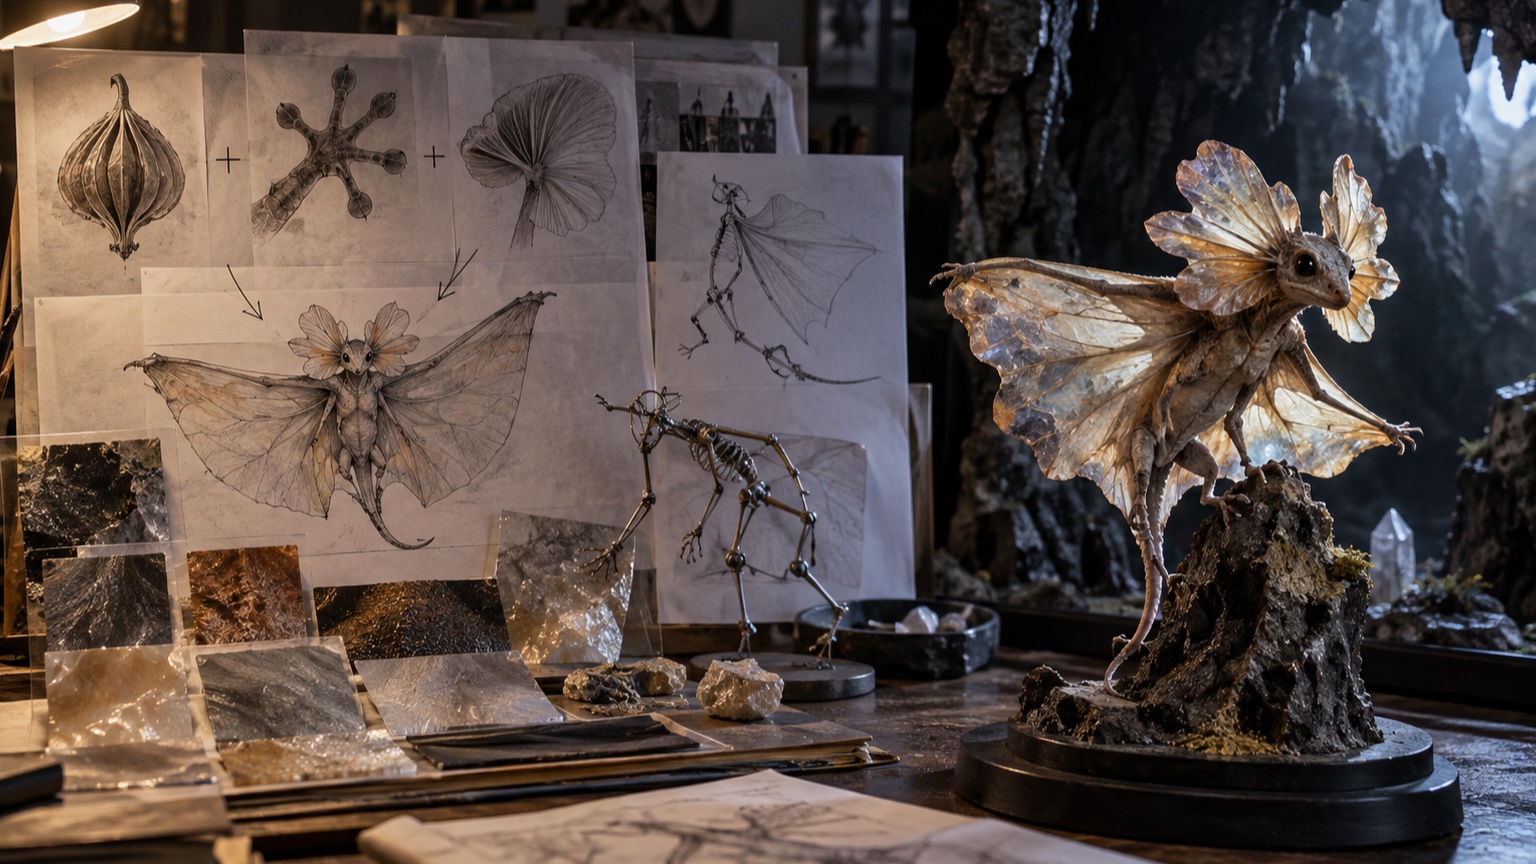
Organize references around questions: how broad feet distribute load, how animals grip wet bark, how translucent tissue scatters light, or how a heavy body turns in tight space. Studying function produces transferable knowledge. Copying the outline of one animal merely produces a recognizable variation.
Include skeletons, muscle diagrams, movement footage, tracks, nests, feeding traces, skin close-ups, and environmental photographs. Still portraits hide weight shifts and joint limits. A sequence showing approach, contact, effort, release, and recovery often teaches more than a dramatic pose.
Annotate what you infer and what the source actually shows. A raised crest might regulate temperature, communicate, protect tissue, or combine roles. Treat speculation as a design option, not biological fact. For a fictional world, document the chosen explanation so later art, writing, and animation remain consistent.
Choose a Body Plan
Define the number and arrangement of major body regions, limbs, wings, fins, tails, and heads. Sketch the spine and limb girdles as simple structural lines, then place masses around them. If the world includes related species, give them a shared underlying plan. Variation feels evolutionary when it modifies a common structure rather than restarting anatomy for every creature.
Check space for breathing, digestion, circulation, reproduction, and major muscles even if those systems never appear. A torso packed entirely with joints and teeth feels designed from the surface inward. Practical creature builders also need internal volume for armatures, performers, mechanisms, ventilation, and access.
Design Locomotion as a Cycle
Choose the primary way the creature moves, then secondary and emergency methods. A climbing animal may walk efficiently on branches, descend cautiously, and leap only under threat. Each method places different demands on grip, joint range, balance, and recovery.
Connect Skeleton, Muscle, and Surface
Draw a simplified skeleton over the silhouette. Put joints where the body visibly bends and make sure connected bones meet. Large movements need muscle volume and attachment. A powerful digging forelimb implies shoulder structure, chest mass, bracing limbs, and a way to remove displaced material.
Add soft tissue as functional masses. Fat can store energy, protect organs, and change seasonal shape. Loose skin permits movement or display. Tendons can shift muscle bulk away from narrow limbs. Surface folds should compress and stretch according to the joint beneath them instead of appearing as random texture.
When the creature becomes a physical figure, separate anatomical truth from fabrication strategy. A real animal’s smooth shoulder transition may need hidden seams, flexible skin, sliding plates, or controlled folds. The design can preserve the visible logic while allowing a practical internal solution.
Build Feeding Into the Whole Animal
Specify food size, location, frequency, resistance, and handling. Grazing low vegetation affects neck reach and tooth wear. Cracking shells requires force, bracing, and durable contact surfaces. Capturing moving prey affects sensory placement, acceleration, and how the animal secures food after contact.
Place Senses Where They Can Work
Decide what the creature must detect and under which conditions. Forward-facing eyes support overlap but reduce rear coverage. Large external ears collect sound but risk damage and heat loss. Whiskers, antennae, pressure pits, chemical receptors, or vibration-sensitive feet can suit darkness or murky water.
Protect important sensors. Add lids, recesses, flexible guards, cleaning behavior, redundant placement, or retractable structures. Then design attention: what moves first when the creature notices something? Eyes, ears, head, torso, and feet can create a readable sequence that animators and mechanisms can reproduce.
Explore Silhouettes With Ecological Consequences
Generate many small silhouettes from the same niche. Change where mass sits, how limbs contact terrain, how sensory structures project, and how the body folds at rest. Do not add surface patterns yet. Each option should imply a different solution to the same environmental problem.
Give the Creature a Behavioral Baseline
Write a short daily cycle. Where does it rest, feed, avoid exposure, interact, groom, and travel? Behavior explains why features appear in certain positions. Folded fins may open only for cooling. A tail used for signaling may remain protected during feeding. A nocturnal animal may avoid exposing reflective eyes while resting.
Define social distance. Solitary creatures need different signals from animals coordinating in groups. Greeting, warning, courtship, parenting, and play can reuse anatomy in distinct ways. A display structure becomes more believable when you know who sees it and what response it seeks.
Choose an idle loop as carefully as a threat display. Breathing, scanning, weight shifts, ear corrections, and small grooming actions establish life. For animatronics, these low-intensity motions may run most often, so they should be expressive without producing needless wear or mechanical noise.
Test behavior against anatomy. Can the creature reach every area it must groom? Can it rise from the chosen sleeping pose? Does a display expose a vulnerable organ? Contradictions can inspire new adaptations, but unresolved ones make the animal feel assembled rather than alive.
Design Color for Environment and Communication
Separate background blending, species recognition, age, health, and display. A creature can have quiet resting colors and bright surfaces revealed only during movement. Consider the light available in its habitat; colors perceived by humans in a studio may behave differently in deep water, dense forest, cave light, or theatrical illumination.
Use pattern to describe volume and movement. Stripes can wrap around limb direction, spots can break the contour, and gradients can emphasize heat-exchange surfaces. Avoid placing intricate markings across regions that deform unpredictably unless distortion is part of the intended effect.
Divide the Surface Into Material Zones
Map rigid plates, flexible membranes, fur, feathers, scales, exposed keratin, damp skin, scars, and transitional areas. Material boundaries should relate to protection, movement, temperature, sensation, or display. Joint zones often need smaller units or softer surfaces than broad protected areas.
Build a Maquette and Motion Mockup
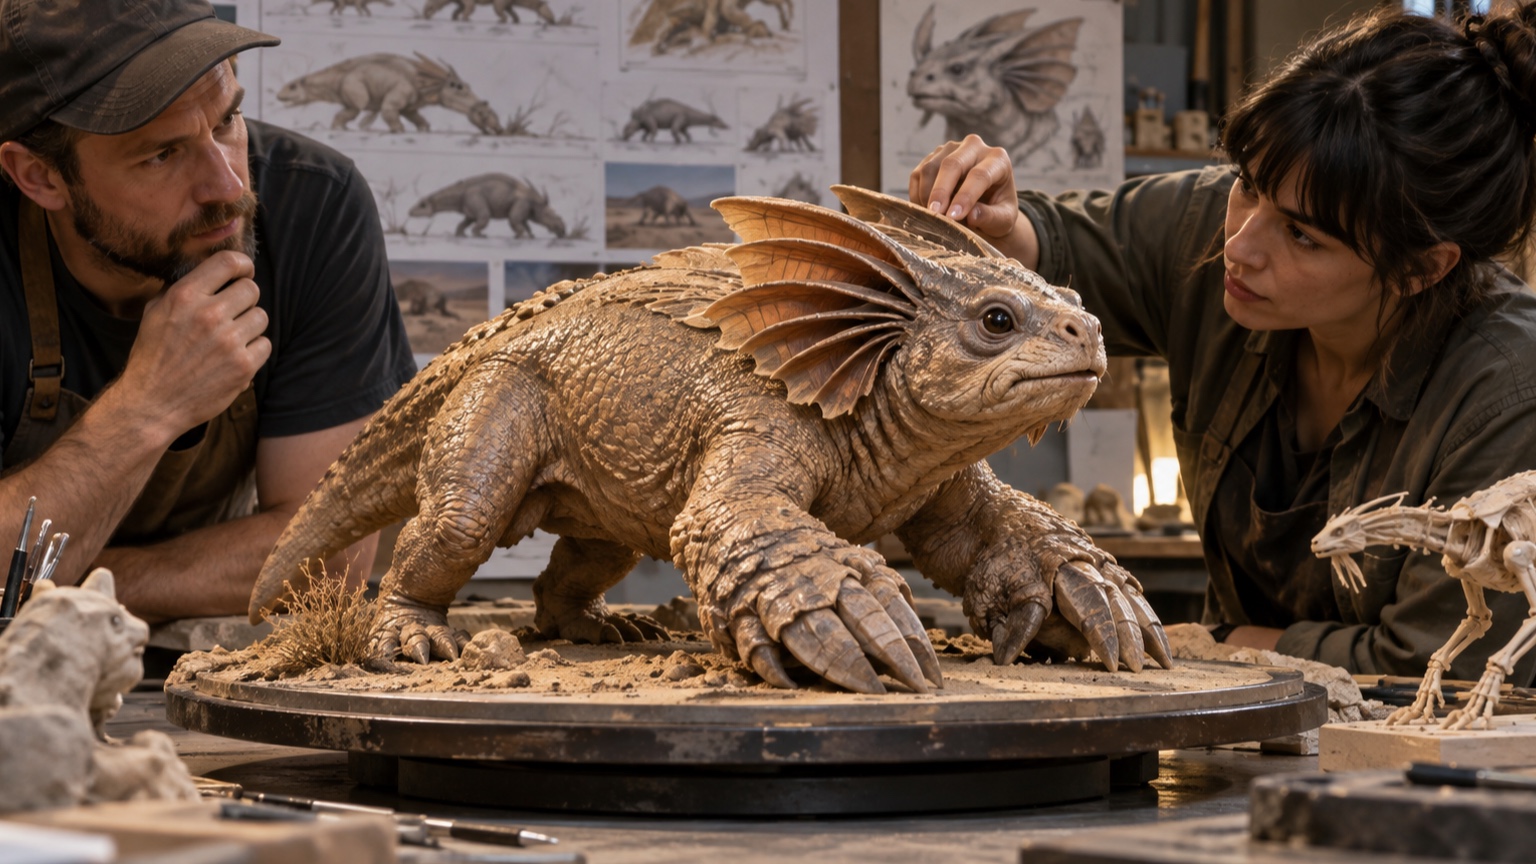
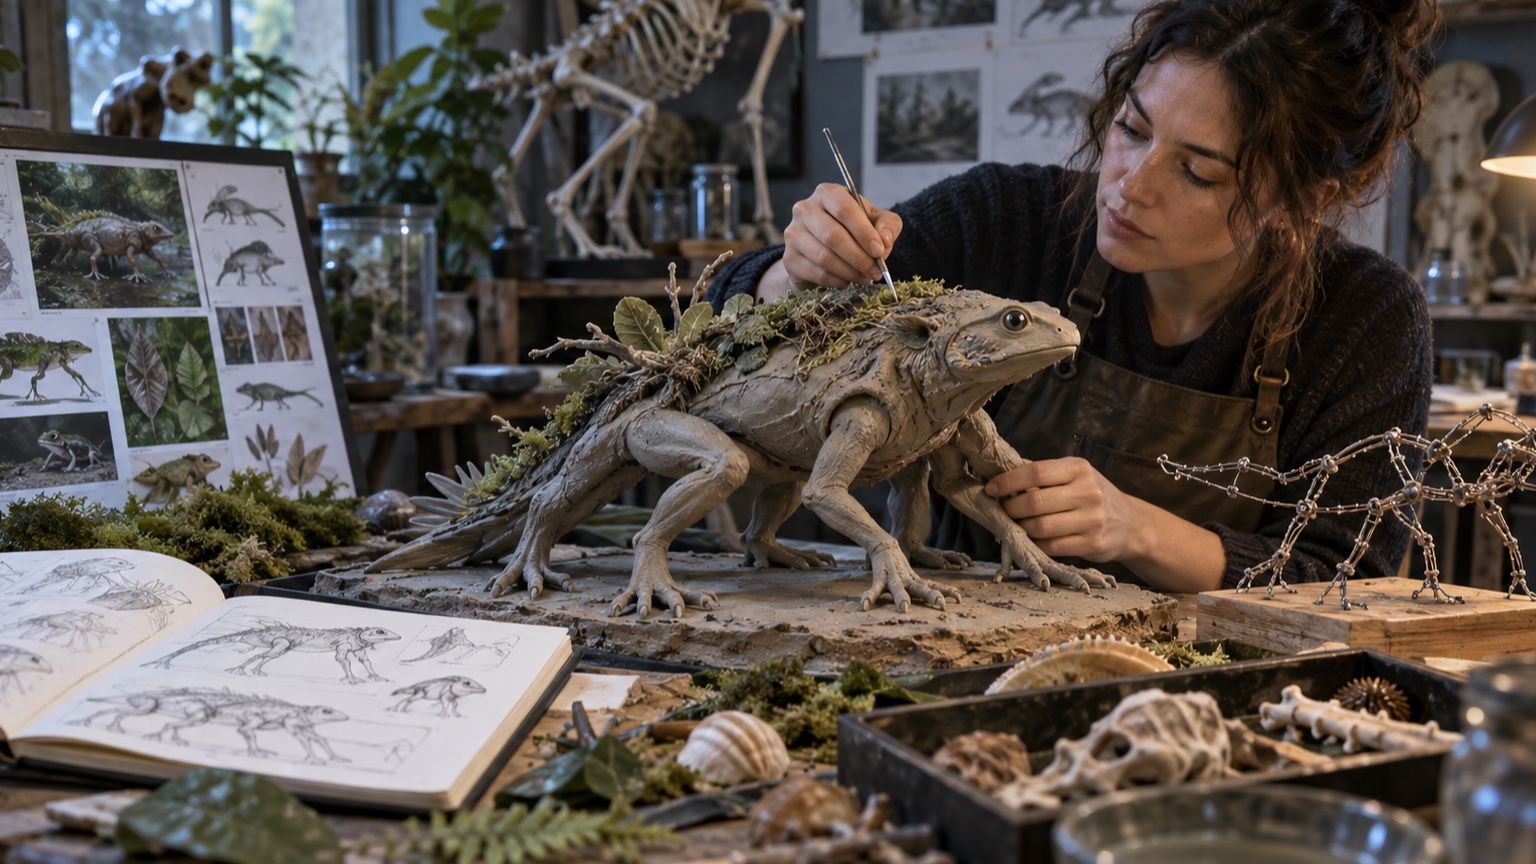
Create a small model from clay, foam, card, or digital sculpting. Inspect it from above, below, behind, and at the audience viewpoint. Check whether limbs reach the ground, the body balances, the mouth can access food, and appendages have room to fold. Shadows often reveal volume problems hidden by line art.
Add simple pivots or wire limbs to test range. Move one joint through a complete cycle and watch surrounding surfaces. For large physical creatures, build a full-scale cardboard profile or foam section to test human access, venue clearances, and sightlines before committing to finish materials.
Photograph the maquette in a rough habitat. The background exposes camouflage, scale, and silhouette issues. A compelling turntable model can disappear against foliage or feel too delicate beside real architecture. Adjust broad relationships before adding texture.
Prepare Consistent Reference Sheets
Produce aligned views, scale comparison, skeletal overlay, locomotion poses, feeding action, sensory attention sequence, resting posture, surface map, palette, and material notes. Label which features are rigid, flexible, retractable, seasonal, or sex- and age-dependent. Keep one approved revision so teams do not combine incompatible stages.
Revise the Creature as One System
When a feature changes, follow its consequences. A larger display fin affects balance, heat, silhouette, folding space, social behavior, and fabrication. A heavier jaw changes neck and chest support. Review the niche statement after every major revision. The creature succeeds when habitat, anatomy, behavior, appearance, and production reinforce the same life rather than competing for attention.
Keep a decision ledger beside the drawings. For each major revision, record the problem, selected change, rejected alternatives, and systems affected. This prevents a later artist from restoring an obsolete tail, palette, or joint range because it remains attractive in an older image. It also reveals when repeated changes point to a flawed niche assumption rather than a local anatomy problem.
Test the Creature in a Short Scene
Create a thirty-second sequence with a beginning, decision, and recovery. The creature might leave shelter, detect food across unstable ground, choose a path, feed, react to a distant threat, and settle. Storyboarding this ordinary event tests scale, locomotion, attention, feeding, behavior, and resting anatomy together. Avoid relying on a dramatic attack or transformation that hides gaps in everyday function.
Track what the audience learns at each beat. The first silhouette may establish mass and caution. A foot placement reveals terrain adaptation. A sensory turn explains attention. Feeding exposes jaw or hand function. Recovery shows breathing and social state. If the sequence requires captions to explain every action, strengthen cause-and-effect in posture, timing, and contact.
Build the sequence at the cheapest useful fidelity. Use cut paper, a wire model, a simple digital rig, filmed puppetry, or an operator moving a cardboard profile. Measure clearances and timing when the creature will become physical. Revise the reference sheets from the test rather than treating the storyboard as separate concept art. The creature is ready for deeper production when one consistent body can perform the scene without unexplained changes. Repeat the test from a second viewpoint and at delivery scale. A turn that reads in profile may hide the face from a live audience, while a feeding action designed from eye level may expose unsupported anatomy from above. Check sound, shadows, contact with terrain, and the duration of idle moments. These conditions reveal whether the creature feels present between its showcase poses. Record every discrepancy and assign it to anatomy, performance, environment, or presentation before revising.