Character Proportion Basics Every Artist Should Know
Good proportion begins with seeing the figure as a set of connected masses rather than a checklist of body-part measurements. A believable character has a head, rib cage, and pelvis that relate clearly; limbs that reach expected landmarks; hands and feet with enough size to perform their jobs; and a center of gravity supported by the pose. These relationships can be realistic or heavily stylized. What matters is that they are intentional and remain consistent when the character turns, bends, dresses, or moves. Beginners often chase small anatomy errors while the larger figure is still unstable. A simpler order works better: establish gesture, block the major masses, choose a flexible measuring unit, place joints by comparison, and check the drawing from more than one view. This guide introduces those habits without treating one “ideal” body as universal. It also covers age, body-type variation, clothing, perspective, balance, and a short practice routine that builds observation instead of dependence on memorized formulas.
A: Usually. Remove one secondary cue at a time and see whether the result still works.
A: Include the person responsible for the final medium and someone seeing the work fresh.
A: Save the view, settings, materials, limits, and test conditions.
A: Yes. Scale, light, background, and viewing angle can change the result.
A: It should succeed repeatedly under final conditions.
A: No. Inspect the craft up close, then judge the result at audience distance.
A: People add detail before proving the basic setup.
A: Yes. Wear, calibration, temperature, and handling can all shift it.
A: Use the signed-off version tested under final conditions.
A: No. Repeat the setup against the same baseline.
Start With Gesture, Not Measurement
Draw the direction of the pose before dividing the body into units. A long line through the head, spine, and supporting leg can capture lean, compression, or extension in seconds. Add shoulder and pelvis tilts to show how the torso is organized. Measurement is more useful after the action exists. If you begin with a rigid stack of equal units, the figure may be accurate on paper yet feel posed like a diagram. Let gesture establish life, then use proportion checks to keep it believable. Try the same gesture with a tall, short, broad, and narrow figure. The action should survive while each version develops a distinct rhythm.
Reduce the Body to Major Masses
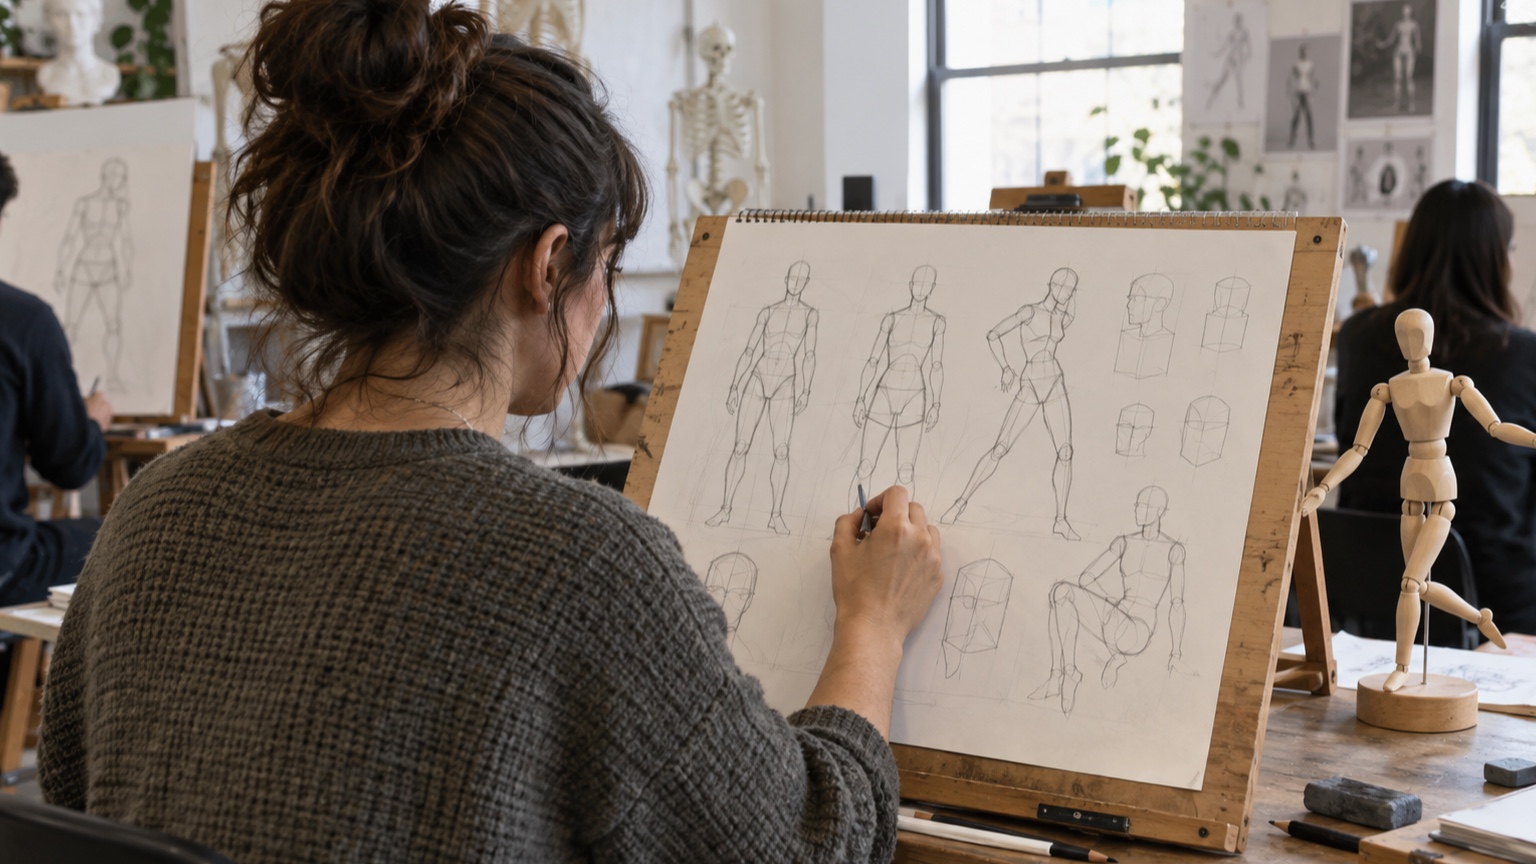
Represent the head, rib cage, and pelvis with simple solids. Connect them with a flexible spine and attach tapered limb forms. This construction reveals rotation and depth without requiring detailed anatomy.
Keep the rib cage and pelvis distinct. Their angle and distance create much of the torso’s character. When they are merged into one bean shape too early, twists and weight shifts become difficult to explain.
Leave a visible gap for the waist during construction. It reminds you that the spine can bend and prevents the torso from becoming a single rigid barrel.
Learn a Flexible Head-Unit Method
Use the distance from the top of the skull to the chin as a convenient unit. Repeat it down a standing figure to compare total height and the placement of broad regions. Different ages and styles use different counts, so observe the character in front of you. Hair and headwear can confuse the measurement. Find the actual skull and chin first. Treat the method as an approximate guide; a convincing drawing may adjust a division slightly to support the pose or design. Practice estimating the unit before drawing guide lines. The comparison afterward trains your eye more effectively than depending on a ruler from the start.
Mark the Shoulder and Pelvis Lines
Draw a line through the shoulders and another through the front of the pelvis. Their tilt shows balance and torso rhythm. In many relaxed poses they oppose each other, while a stiff or forceful pose may bring them closer to parallel.
Wrap the lines around the body as cross contours rather than leaving them flat. This indicates which side turns toward the viewer. The relationship is more important than making either line steep for drama. Add a centerline through both masses. Together, tilt and centerline show whether the torso bends, twists, or does both.
Place Elbows and Knees by Relationship
Instead of memorizing a fixed height, compare the elbow with the lower rib cage or waist area and the knee with the midpoint of the leg. Then adjust for the individual figure, pose, and perspective. Bent limbs require drawing through to the hidden joint. Mark joints before shaping muscles or clothing. A misplaced elbow can make both upper arm and forearm look wrong. Small landmark dots keep the limb structure visible while you experiment. On bent limbs, lightly draw the hidden continuation through the joint. This keeps the two segments connected instead of turning the bend into a sharp corner.
Compare Arms With the Torso
Let the arm hang in a neutral reference and observe where wrist and fingertips fall beside the body. Compare upper-arm and forearm lengths, then check whether the shoulder attachment gives the arm enough room to move.
In a posed figure, follow the entire chain from clavicle through shoulder, elbow, wrist, and hand. Shortening only the visible forearm to fit the page is a common mistake. Change the composition or foreshorten the form instead.
Compare both arms even when one is raised. Their landmarks occupy different page positions, but the underlying segment relationships should still belong to the same person.
Compare Legs With the Whole Figure
Leg length affects the character’s apparent age, speed, and elegance. Compare the pelvis-to-knee distance with knee-to-ankle, then judge both against the torso. Long legs can feel graceful or stylized; shorter legs can add stability or youthfulness. Remember that the leg begins at the hip socket, not at the outer waist. Build the pelvis first so the thighs have a believable origin. Check the standing figure’s ground line before adjusting lengths to fix balance. Draw the leg’s centerline through the knee to the ankle. This prevents the contour from hiding a structural bend or an unintended change in length.
Give Hands and Feet Enough Presence
Hands and feet often shrink in beginner drawings because they are difficult to construct. Block the palm and fingers as a mitten, and the foot as a wedge, before adding smaller parts. Compare the hand with the face and the foot with the lower leg.
These forms carry action and weight. A tiny gripping hand weakens a prop interaction, while undersized feet make a heavy character feel unstable. Simplification is fine; timidity in scale is not. Trace your own hand beside your face in a mirror or photograph. Familiar comparisons like this are easier to recall than isolated numerical ratios.
Use Centerlines to Track Rotation
Run a centerline down the face, rib cage, and pelvis. As the body turns, those lines curve across the forms and move toward the far edge. They keep paired features on the same volume. Centerlines do not have to align. A head can turn away from the chest while the pelvis faces another direction. That separation creates twist, but the transitions between masses must remain clear.
Check the Figure From More Than One View
A front view can hide a flat torso, misplaced shoulder, or shallow skull.
Draw a quick side or three-quarter study before committing to detail. For sculpture, rotate the piece after every few minutes of work.
Use horizontal guides to compare landmark heights across views. If the knee sits at a different level in the side drawing, decide which three-dimensional form is correct rather than averaging the mistake.
Understand Balance and Weight
Identify the supporting foot, seat, hand, or prop and trace how the body’s weight reaches it. The pelvis usually shifts toward a standing support leg, changing the spine and shoulder relationship. The free side can relax or move. Draw a vertical check from the main mass toward the support area. Dynamic poses can move outside that area when momentum explains the imbalance, but a quiet standing figure should not appear ready to fall.
Separate Proportion From Perspective
Perspective makes nearer forms appear larger and distant forms smaller. A hand reaching toward the viewer may rival the head in size without changing the character’s actual proportions. Construct the body in space before judging lengths from the page alone.
Use overlapping forms and convergence to support the size change. If foreshortening feels uncertain, sketch the limb as a box or cylinder and locate both ends. Then rebuild the anatomical contour around that simple volume.
Explore Body-Type Variation Respectfully
Observe how height, frame, muscle, fat, posture, and disability create real differences in proportion. Study the whole relationship rather than enlarging one feature on an otherwise unchanged mannequin. Use several references and avoid turning variation into shorthand for personality. Every body still has structure, balance, and functional needs. Look for where landmarks remain visible, how masses overlap, and how the figure occupies space. Specific observation produces more convincing characters than stereotypes.
Change Proportions for Age
Young children generally have larger heads relative to height, shorter limbs, smaller jaws, and softer transitions between masses.
Adults show different shoulder, pelvis, and limb relationships, while older figures may change posture and tissue distribution without simply becoming smaller adults.
Adjust several relationships together. A large head on an otherwise adult body does not automatically read as a child. Reference the intended age, and remember that individuals vary widely within every group.
Stylize With a Repeatable Rule
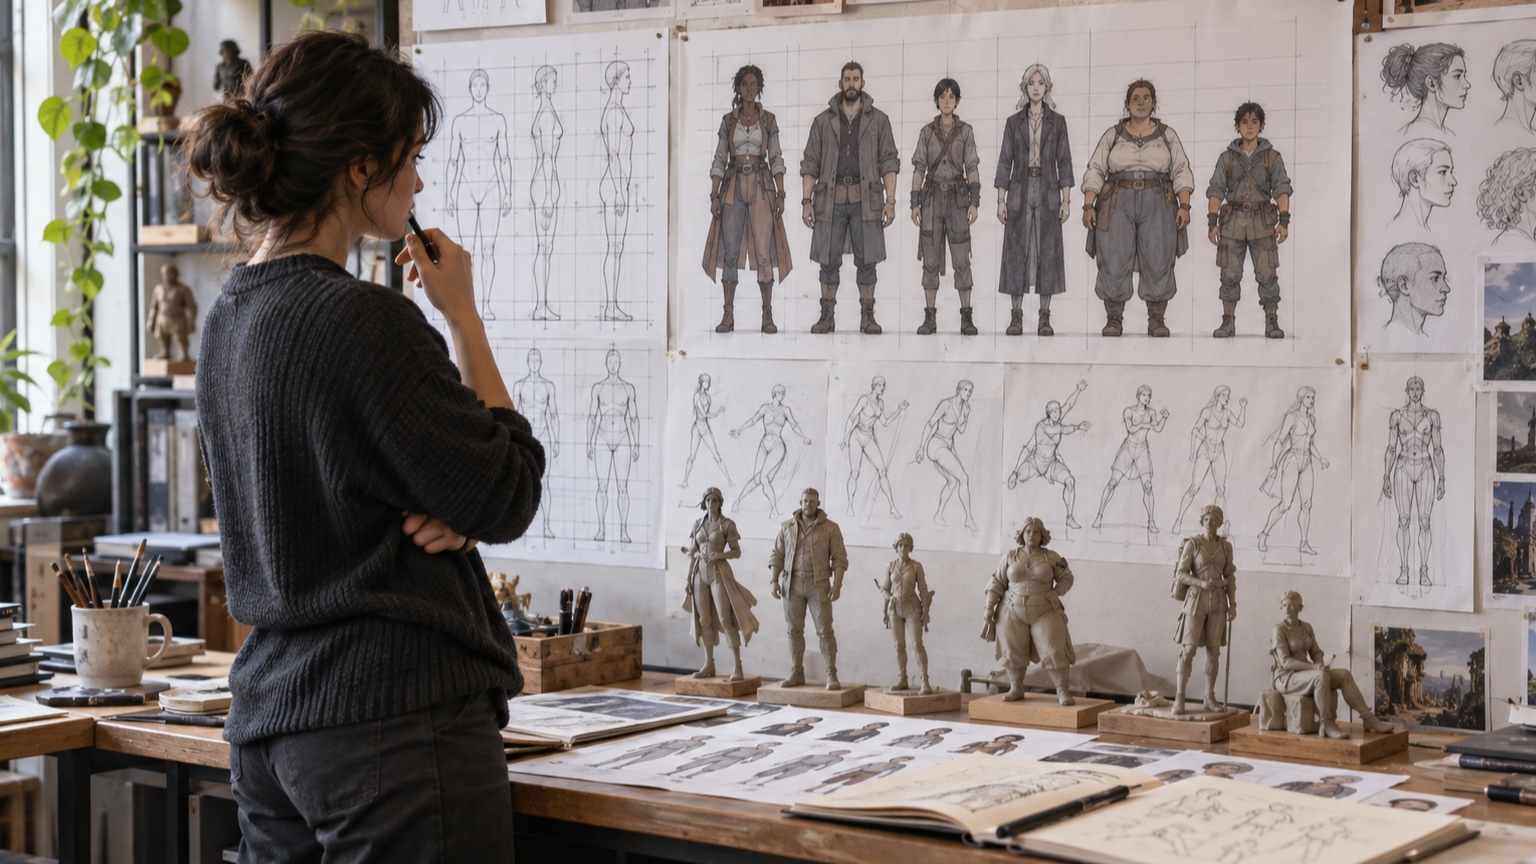
Choose a few deliberate changes, such as a larger head, longer forearms, broad shoulders, or short lower legs. Apply them consistently in front, side, and action views. Leave enough familiar structure that viewers can understand the body. Write the rules beside the character sheet. If the design only looks right in one drawing, it is an illustration trick rather than a stable proportion system. Test the character sitting, reaching, and turning.
Keep Clothing Connected to Structure
Sketch the body beneath the clothing before designing the outer silhouette. Waistbands, seams, cuffs, and armor edges need to wrap around real volumes. Thick garments add bulk and may change the apparent length of limbs or neck.
Use folds to describe where the body bends and where fabric hangs. Do not let clothing replace the pelvis, rib cage, or joint locations. The viewer may not see the construction lines, but the costume will feel more convincing because they are there.
Use Simple Comparison Checks
Flip the drawing, view it at thumbnail size, and compare matching limbs. Draw straight lines between shoulders, elbows, knees, and ankles to find unintended shifts. Temporarily hide detail and judge the major masses. Ask one focused question at a time. “Are the feet large enough to support this body?” produces a useful correction; “Does everything look right?” rarely does. Save an earlier version so changes can be evaluated instead of remembered. Place the drawing upside down for a final check. The unfamiliar orientation reduces attention to the character’s identity and exposes simple shape imbalance.
Build a Short Daily Practice
Spend ten or fifteen minutes on one relationship: torso-to-leg length, hand scale, pelvis tilt, or head size across ages. Use reference for several quick figures, then repeat one from memory. Compare the result and write down the error you made most often.
Rotate the focus through the week and finish with a simple invented character that uses what you studied. Regular targeted practice builds proportion sense more reliably than occasional long drawings overloaded with detail.
Keep dated pages instead of discarding weak attempts. A month of comparisons will show which errors are improving and which relationships deserve another focused study. Every few weeks, redraw an older pose without tracing it. Compare the new version with both the reference and the original study. Look specifically at joint placement, hand and foot scale, torso divisions, and balance. Improvement becomes easier to see when the subject stays constant.