How to Master Character Proportions: A Complete Guide for Artists
Mastering proportion means learning to compare relationships, not memorizing a single ideal figure. Head count can be a useful shorthand, but it changes with age, body type, pose, camera angle, and design style. The more dependable skill is noticing where landmarks sit relative to one another: how shoulder width relates to the rib cage, where the elbows fall beside the waist, how the pelvis supports the torso, and how the hands and feet balance the whole figure. Those comparisons make it possible to draw from observation, invent a character, build a turnaround, and translate the design into sculpture without losing its identity. This guide treats proportion as a flexible system. It begins with measurement and skeletal landmarks, then addresses width, depth, extremities, age, body variation, stylization, perspective, clothing, three-dimensional translation, cast design, and focused practice. The goal is consistency without sameness—a figure whose choices are intentional, functional, and recognizable from every required view.
A: Use the signed-off version tested under final conditions.
A: No. Repeat the setup against the same baseline.
A: Make a stripped-down study and review it from the real audience position.
A: Only after it succeeds in two matching tests.
A: It should strengthen the main idea, not pull attention away from it.
A: Use the least amount that remains clear at audience distance.
A: Check transitions, side views, extreme ranges, and changing light.
A: Usually. Remove one secondary cue at a time and see whether the result still works.
A: Include the person responsible for the final medium and someone seeing the work fresh.
A: Save the view, settings, materials, limits, and test conditions.
Measure Relationships Instead of Memorizing Numbers
Ask comparative questions while drawing: Is the forearm longer than the upper arm? How many hand widths fit across the shoulders? Where does the knee fall between hip and ankle? Relationships remain useful when a figure bends or the style changes.
Use straight-line checks and simple ratios, then return to the visual impression. Exact measurements can still produce a stiff figure if they ignore gesture and perspective. Numbers should diagnose a suspicion, not replace looking.
Record ratios only when they help you repeat a design. A page crowded with measurements can obscure the few relationships that actually create the character’s identity.
Use the Head as One Reference Unit
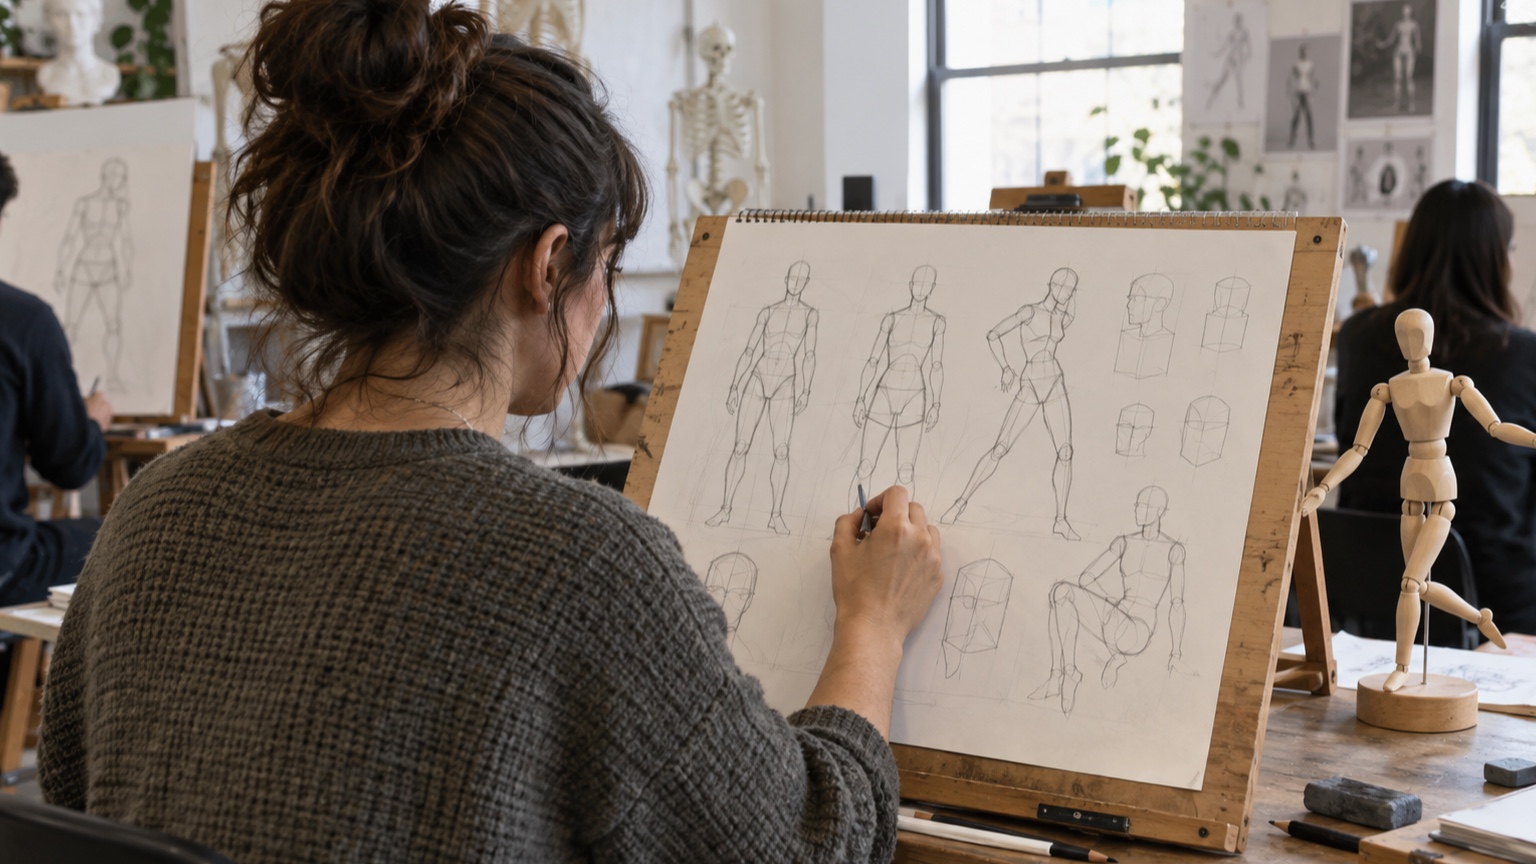
Head units provide a convenient way to describe overall height and major divisions. Mark the top of the head and chin, repeat that distance down the standing figure, and note where shoulders, chest, pelvis, knees, and feet land. Treat the result as a map rather than a law. The head itself varies. Hair, cranial shape, jaw size, and camera angle can change the apparent unit. Measure from anatomical landmarks when accuracy matters, and decide whether the design intentionally uses a large head for youthfulness or a small head for greater apparent height. On a model sheet, include one bare-skull guide beneath hair or headgear. This prevents the apparent head unit from changing when another artist redraws the costume.
Locate Reliable Skeletal Landmarks
Visible landmarks give soft forms a stable framework. The pit of the neck, ends of the clavicles, lower rib cage, front points of the pelvis, elbows, kneecaps, ankles, and wrist bones help establish placement and orientation.
Find them before rendering muscles or clothing. On a turned figure, pair landmarks with a centerline to show which side is closer. In sculpture, check their depth as well as their position on the outline. Landmarks should guide the form without becoming sharp bumps everywhere. Palpating landmarks on your own arm, knee, or collarbone can make their structural role easier to remember than copying a diagram alone.
Check Balance Before Detail
Drop a vertical line from the body’s center of mass toward the support area. In a standing pose it should be compatible with the placement of the feet; in a seated or leaning pose, the chair, hand, wall, or prop may provide support. If the weight story is unclear, proportion will feel wrong even when lengths are accurate. Examine the relationship between rib cage and pelvis. Their tilt and offset explain how weight transfers through the spine. Correct balance first, because moving the pelvis later will change almost every limb relationship.
Compare Torso and Limb Lengths
Separate the torso into rib cage, waist, and pelvis rather than measuring one featureless block.
Compare upper arm with forearm, thigh with lower leg, and each segment with the torso. Small differences create distinct body types without making the figure implausible.
Check both sides of an asymmetrical pose. Foreshortening may make one limb look shorter, but its underlying segment lengths should remain consistent. Draw-through lines can reveal where a hidden joint must sit.
Study Width and Depth Together
Front-view width is only half the form. A broad chest can be shallow or deep; a narrow pelvis can project strongly in profile. Use cross sections or simple boxes to keep width, depth, and rotation connected. Turnarounds often fail because each view was designed as a separate drawing. Project landmarks across views and compare cross sections at the shoulders, rib cage, waist, pelvis, thighs, and head. Resolve contradictions before surface anatomy makes them harder to see.
Design Hands and Feet Proportionally
Hands and feet are frequently drawn too small because their complexity makes artists cautious. Compare hand length with the face and forearm, and compare foot length with lower-leg height and body weight. Larger extremities can make a character feel grounded and capable.
Design the palm, fingers, heel, arch, and toe block as grouped forms before detailing. Stylization may simplify digits, but the attachment and working range still matter. Check whether the character can hold required props or stand in the intended costume. Include a hand-to-face comparison on the reference sheet. That single image is quick to use and catches scale drift during close character acting.
Show Age Through Whole-Body Relationships
Age is communicated across the figure. Children typically have larger heads relative to height, shorter limbs, smaller jaws, and different distributions of body mass. Adolescence introduces uneven growth, while adult and older bodies vary widely in posture and tissue placement. Do not rely on facial wrinkles or gray hair to carry age. Adjust head-to-body ratio, shoulder and pelvis relationships, hand and foot scale, neck length, and stance together. Use references from the specific age range rather than blending stereotypes. Study motion as well as photographs. The way a person rises, turns, or protects balance can clarify age without requiring exaggerated static posture.
Observe Real Body Variation
Study people with different heights, builds, sex characteristics, disabilities, and fat distributions. Notice how variation affects silhouette, landmarks, balance, and clothing without assuming one body is the default from which others deviate.
Use several references for a designed character and avoid borrowing an unusual feature as a visual joke.
Proportion should support identity and function. Specific observation produces more convincing variety than randomly widening or shortening isolated parts.
Stylize by Changing a Few Ratios
Strong stylization usually rests on a small set of repeatable changes: a larger head, shorter torso, longer forearms, wider pelvis, or tapered legs. Choose the ratios that serve the character and keep other relationships comparatively stable. Push one option through several poses before adding more exaggeration. If the rule disappears whenever the figure turns, it has not been defined clearly enough. Write the important ratios beside the model sheet so other artists can reproduce them.
Preserve Function Under Exaggeration
A stylized body still needs to perform its story tasks. Very short arms may not reach a tool belt; oversized hands may collide with the face; a tiny foot may not visually support a massive torso. Test key actions early.
Mechanical characters add real clearances and pivots to the problem. Allow room for joints, costume thickness, and service access without erasing the intended silhouette. Functional adjustments can become appealing design features when handled deliberately.
Account for Perspective and Camera
Perspective changes apparent proportion. Forms closer to a wide-angle camera enlarge, while distant parts shrink. A low view lengthens legs and exposes undersides; a high view emphasizes the head and shoulders. Do not “correct” these effects by changing the character model in every shot. Establish camera distance and lens behavior before approving promotional views or turntables. For reference sheets, use a flatter projection that reduces distortion. For storytelling images, let perspective contribute to the intended scale and attitude.
Use Clothing Without Losing the Body
Build the unclothed structural figure first, then add garment thickness and silhouette.
Clothing can broaden shoulders, lower a waistline, hide joints, or create a new center of visual weight. Those changes should sit on a body that remains understandable underneath.
Track landmarks through the costume with light construction lines. Folds should emerge from fit, material, and pose rather than inventing a second anatomy. Check whether bulky layers make the designed limbs appear unexpectedly short.
Build Consistent Turnarounds
Choose a neutral posture, eye line, ground line, and scale for every view. Project key heights across the page and use cross sections to connect front, side, and back. A three-quarter view is useful for testing the transition rather than serving as another independent design. Keep perspective minimal and do not pose one view more dramatically than the others. Mark hidden landmarks lightly. When discrepancies appear, resolve the three-dimensional form instead of choosing whichever drawing looks best alone.
Translate Drawings Into Three Dimensions
A front drawing may imply a depth that the side drawing does not support. Begin the sculpture or model with skull, rib cage, pelvis, and limb blocks, then compare them with all views. Rotate continuously instead of completing the front surface first.
Use calipers for major widths and depths, but allow optical correction when the final viewing angle demands it. Hair, clothing, and flexible skins add thickness, so include them in the dimensional plan rather than squeezing them onto a finished body.
Compare Characters Within a Cast
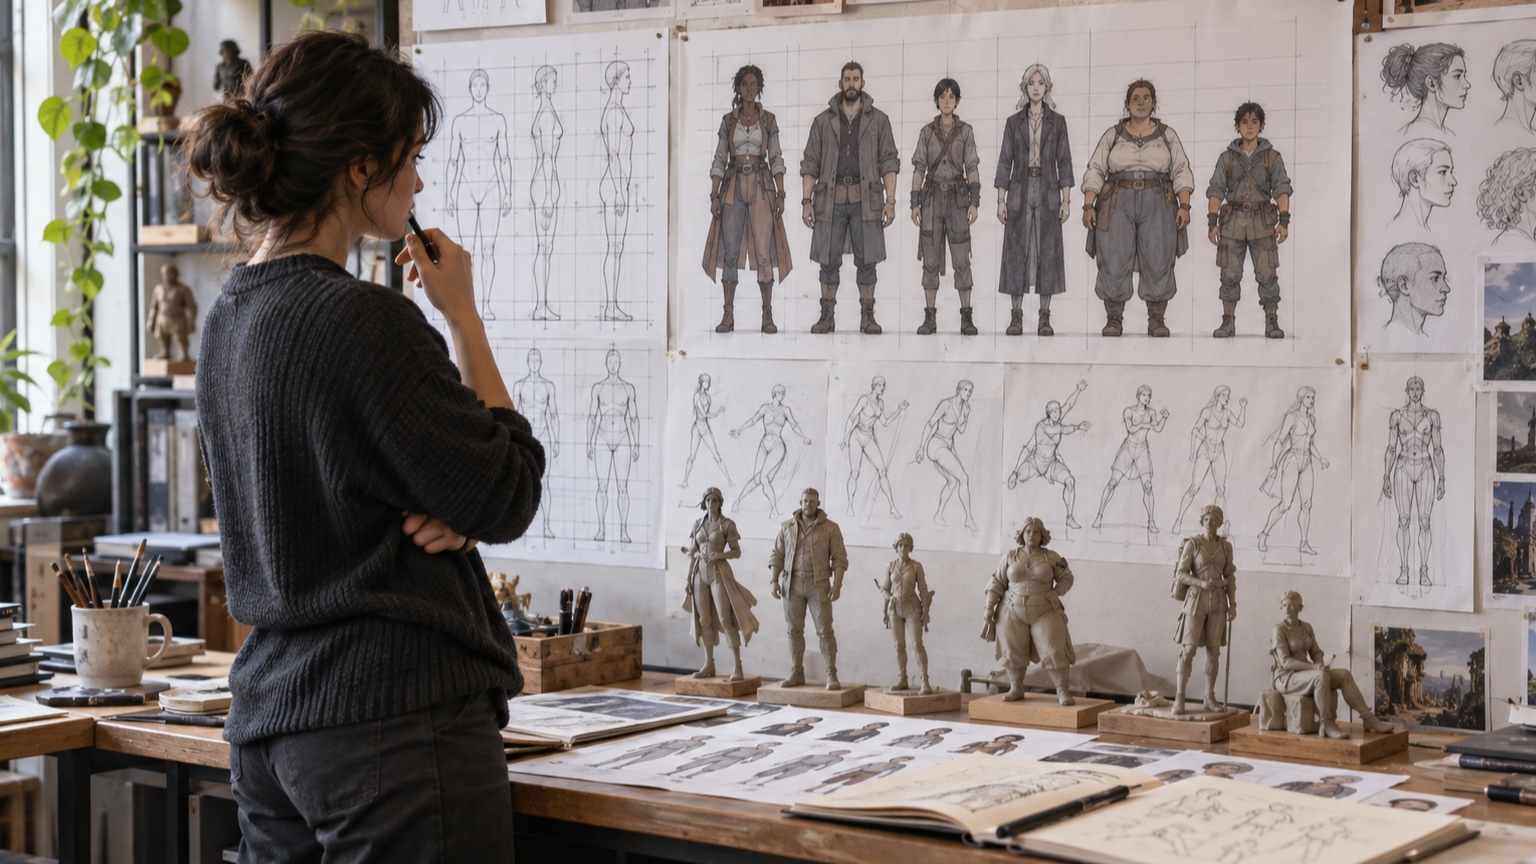
Line characters up at the same ground level and compare height, head size, shoulder line, hand scale, silhouette, and mass distribution. A cast becomes richer when differences are legible without making one figure feel as though it belongs to another visual world. Repeat a few shared rules—perhaps eye placement or hand construction—while varying major ratios. Test pairs that appear together most often. Extreme contrast can be useful, but each character still needs space to perform beside the others.
Practice With Targeted Studies
Replace vague “figure practice” with short studies that answer one question. Spend a session comparing pelvis widths, drawing the same arm at several lengths, or turning one stylized torso through space. Limit time so observation stays active.
Review the studies together and write what changed the read.
Redraw the difficult relationship from memory, then compare it with reference. This cycle builds a usable internal model more effectively than copying finished drawings without analysis.
Create a Proportion Reference Sheet
Summarize the approved character with front, side, back, and three-quarter views, major measurements, landmark heights, cross sections, and a few key ratios. Include hand, foot, and head details at a larger scale where necessary. Add examples of common errors, such as a torso drawn too long or feet reduced below the approved size. Keep the sheet accessible to illustrators, sculptors, riggers, and costume designers. A good reference protects the design while leaving room for natural posing. Date the sheet and assign a version number. Proportion changes ripple into rigs, clothing, props, and molds, so teams need to know which reference is current. Finish with one relaxed pose and one demanding action drawn beside the turnaround. These examples prove that the measurement system can bend, twist, and bear weight without losing the character. They also reveal practical issues that a neutral lineup tends to hide. Keep both examples in future reviews as practical proportion checks.