How to Create Strong Character Silhouettes From Scratch
A strong silhouette lets the audience recognize a character’s role, attitude, and action before they see facial features, color, or texture. It is not simply an unusual outline. The outer shape must organize the head, torso, limbs, costume, hair, and props into a readable whole, with negative spaces that keep important forms from merging. Silhouette work is especially valuable for animation, games, illustration, mascots, puppets, and animatronics because it reveals problems while changes are still inexpensive. A thumbnail filled with black can show whether a hand disappears against the hip, a prop breaks the line of action, or several cast members share the same shape. This guide begins with the character’s job and action, then develops shape language, gesture, mass hierarchy, negative space, costume, pose testing, cast comparison, value structure, volume, and mechanical clearance. The process stays simple on purpose: if the design succeeds without interior detail, later refinement can support the identity instead of trying to invent it.
A: It should succeed repeatedly under final conditions.
A: No. Inspect the craft up close, then judge the result at audience distance.
A: People add detail before proving the basic setup.
A: Yes. Wear, calibration, temperature, and handling can all shift it.
A: Use the signed-off version tested under final conditions.
A: No. Repeat the setup against the same baseline.
A: Make a stripped-down study and review it from the real audience position.
A: Only after it succeeds in two matching tests.
A: It should strengthen the main idea, not pull attention away from it.
A: Use the least amount that remains clear at audience distance.
Define the Character’s Role and Action
Write what the character does and what the audience should understand immediately. A cautious archivist carrying a box has different silhouette needs from a reckless courier carrying the same box. Role suggests tools, posture, clothing, and where visual weight belongs.
Choose one action for the first test. Standing neutrally may establish identity, but a characteristic reach, crouch, or stride reveals whether the design can perform. Keep the sentence beside your thumbnails and reject shapes that contradict it. List any prop or costume piece the role requires. Those objects should participate in the outer shape from the beginning rather than being attached after the figure is solved.
Begin With Small Black Thumbnails
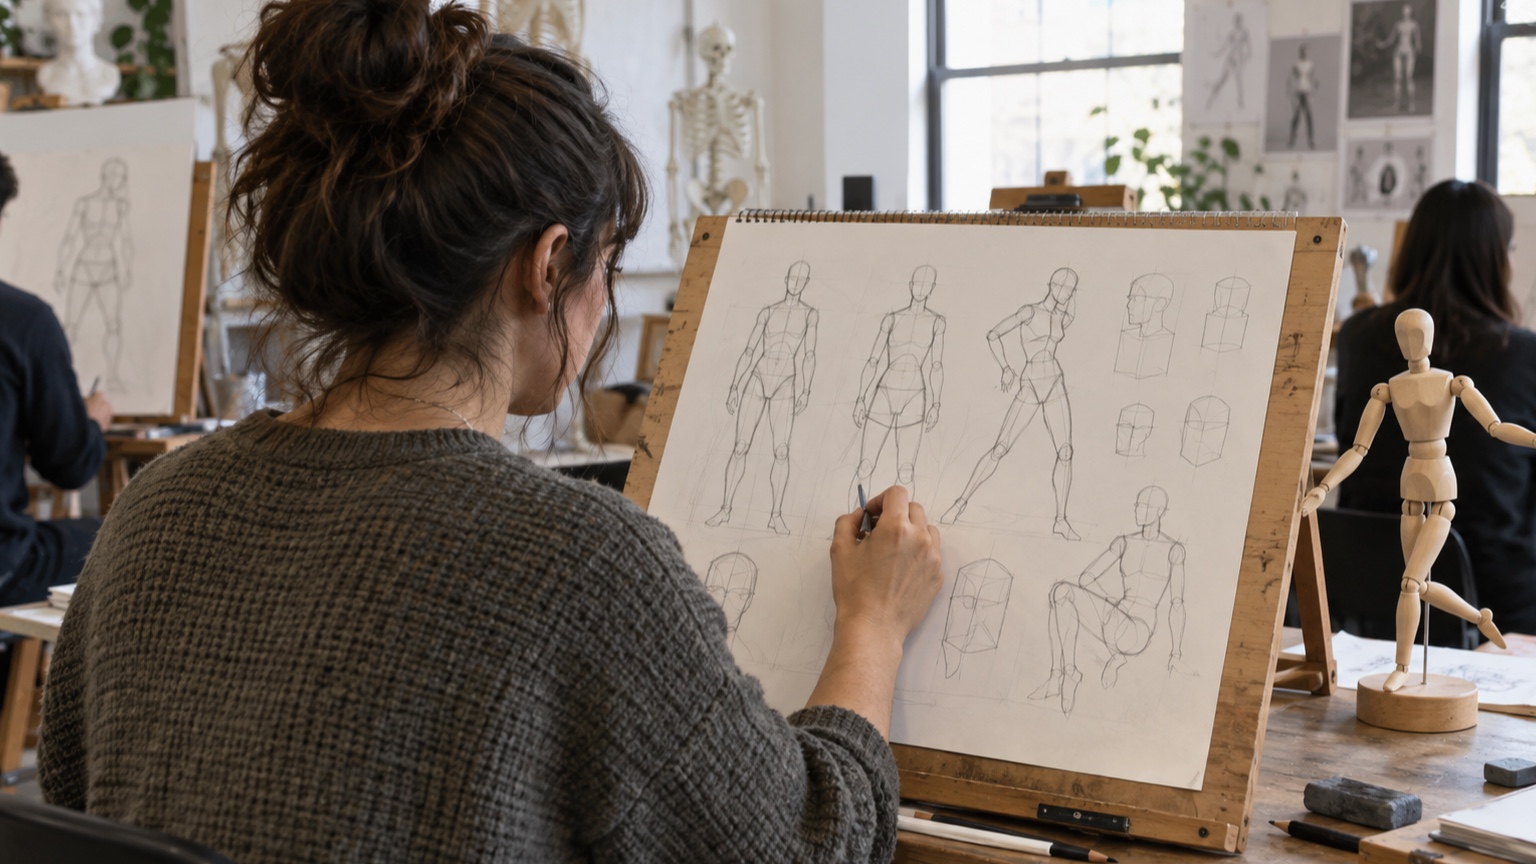
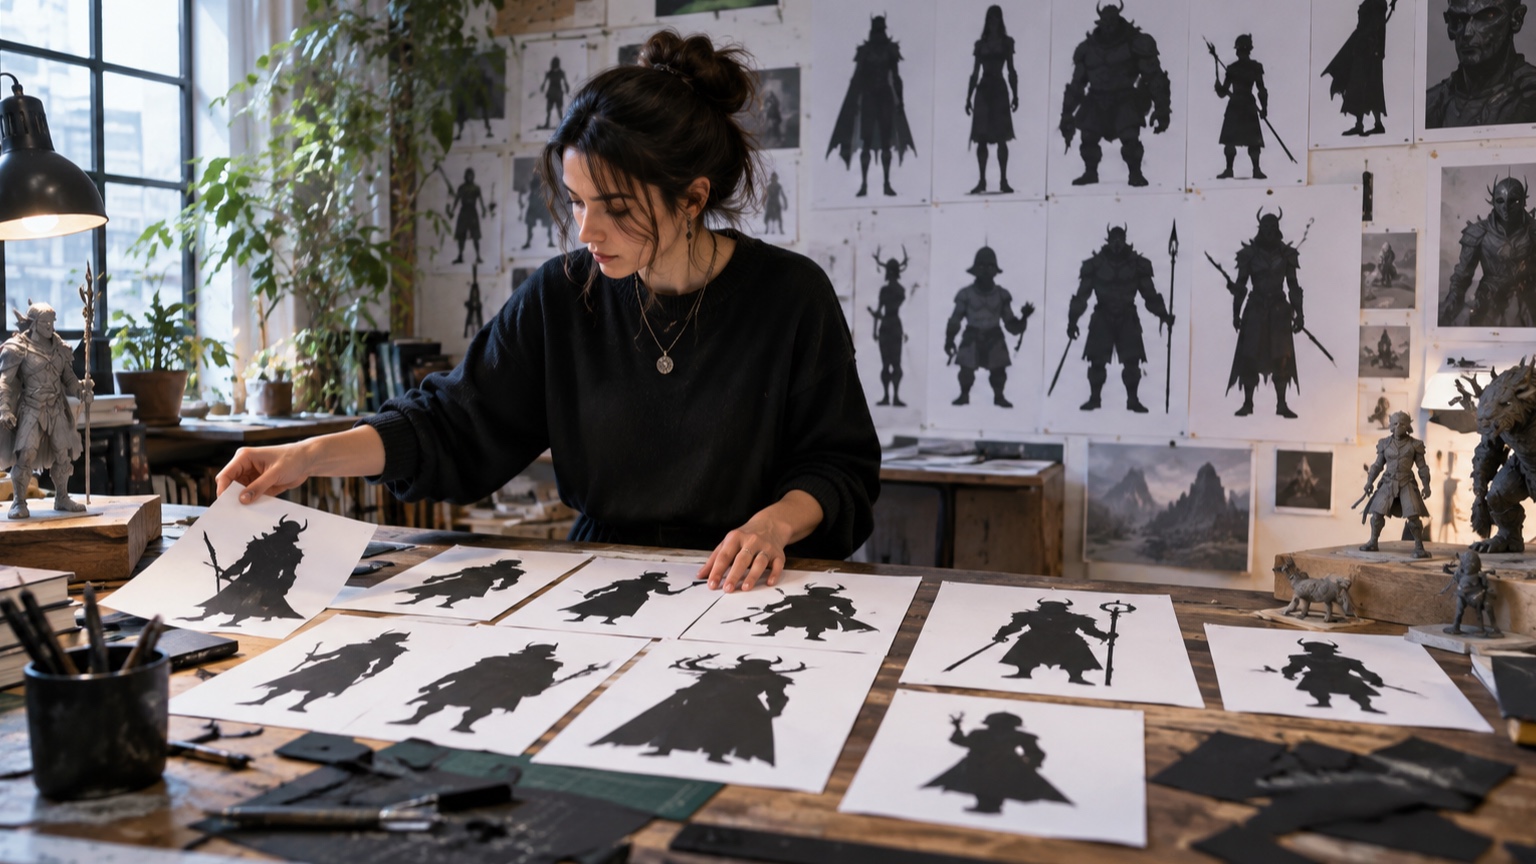
Work small enough that detail is impossible. Fill each figure with solid black and create many alternatives quickly. Change the width, height, posture, and distribution of mass rather than decorating one idea repeatedly. At thumbnail size, weak separations and generic contours become obvious. Circle the few shapes that communicate without explanation, then redraw them slightly larger. Do not clean every sketch; speed keeps the search broad. Make at least one option that challenges your first instinct. The less obvious proportion or posture may reveal an identity that polished variations of the safe idea never reach.
Choose One Dominant Shape Family
Circles, squares, triangles, and combinations of them carry different visual tendencies. Rounded shapes can feel soft or buoyant, rectangles stable or heavy, and sharp tapers quick or threatening. These are tendencies, not fixed personality codes.
Select a dominant family and let secondary shapes provide contrast. A blocky torso may support smaller rounded hands, or a curved body may carry one angular prop. Repeating the family across head, costume, and stance creates unity without making every contour identical. Avoid assigning moral value to shapes automatically. Triangles need not mean villainy, and circles need not mean kindness; context, pose, and expression change the reading.
Establish a Clear Line of Action
Draw a directional sweep through the pose before building the outline. The spine, head angle, and supporting leg should either continue that flow or oppose it for a reason. A clear line gives separate body parts one shared action.
Avoid confusing dynamism with a severe curve. A quiet upright line can suit a disciplined character, while a compressed zigzag may fit nervous energy. Test how the gesture changes when the character turns or carries a prop.
Let the line continue through accessories when useful. A scarf, cane, tail, or tool can extend the action beyond the body and make the direction easier to read.
Vary Large Medium and Small Masses
Organize the silhouette into a clear hierarchy. One large mass might be the coat or torso, medium masses the head and bag, and small accents the hands or hair. Equal-sized parts create a repetitive, assembled look. Compare the intervals between masses as well. A large torso with tiny evenly spaced attachments can feel accidental. Group some shapes, separate others, and allow quiet stretches of contour between important changes. Turn the thumbnail upside down. A clear hierarchy remains visible even when the viewer stops recognizing the subject and sees only abstract shapes.
Open Useful Negative Spaces
The gaps between arm and torso, between legs, or around a prop help the viewer identify parts. Open those spaces enough to survive the intended viewing distance. A narrow gap that looks clear on a large monitor may close completely when reduced.
Negative spaces should support the pose, not force limbs into unnatural display. Shift an elbow, hand, or prop slightly and recheck the action. Often one well-placed opening is more useful than separating every part. Name the most important gap on the model sheet. Protecting that opening during costume, rigging, and pose changes helps preserve the original read.
Separate the Head From the Torso
Neck length, collar shape, hair, horns, or a change in direction can keep the head readable. This matters when the shoulders are broad or the character wears bulky clothing. The face cannot carry identity if its container disappears into the chest. Check front, profile, and three-quarter views. A head that separates well from the front may merge with a backpack or raised shoulder from the side. Preserve enough distinction for the character’s most common poses. Hair and collars can frame the head, but they should not become a permanent halo. Leave room for turns and tilts without trapping the face inside one outline.
Make Hands and Props Read Together
Treat the hand and prop as one action shape before drawing fingers or hardware. Show where the grip occurs, which direction the object points, and how its weight affects the arm. A floating prop or hidden hand weakens the story.
Simplify the prop’s outline around the grip and reserve distinctive details for its exposed end. Test whether the object remains recognizable when it overlaps the body. Moving it a few degrees can clarify both tool and pose.
For moving characters, check the prop at the beginning and end of its action. A clear resting silhouette may become confusing as soon as the arm swings.
Use Asymmetry to Create Identity
Asymmetry introduces direction and history. A single shoulder guard, uneven hairstyle, side bag, or favored stance can make the contour memorable. Tie the difference to function or personality so it feels owned by the character. Balance does not require mirroring. A large shape on one side can be answered by open space or a smaller distant accent on the other. View the figure as a whole rather than adding matching details to make it feel safe. Try flipping the asymmetry. The preferred side may reveal an unconscious composition habit rather than a choice rooted in the character.
Design Costume From the Outside In
Begin with the costume’s outer profile: hem lengths, shoulder width, collar, sleeves, footwear, and major layers. These choices affect recognition long before seams and surface patterns. Make each addition support the role and shape family.
Then confirm that a body can fit inside and move. Oversized sleeves need arm clearance; a narrow skirt changes stride; a large hat shifts the visual center. Costume silhouette and physical function should be developed together.
Test the Silhouette in Multiple Poses
Place the character in at least five actions: neutral, walk or reach, compressed pose, extended pose, and an interaction with a prop. Keep the shape language recognizable without forcing every pose into the same outline. Watch which features disappear during movement. A signature coat point may fold behind the body, so another identifying relationship must remain. A strong design behaves like a family of silhouettes, not one logo pose.
Check Front Profile and Three-Quarter Views
Front views reveal width and symmetry, profiles show projection and posture, and three-quarter views test how masses connect through depth. Draw all three at the same scale and ground line.
Do not invent a new character for each view.
Project head, shoulder, pelvis, and knee levels across the sheet. If an identifying contour only exists from the front, decide how its underlying volume should turn.
Compare the Character With the Cast
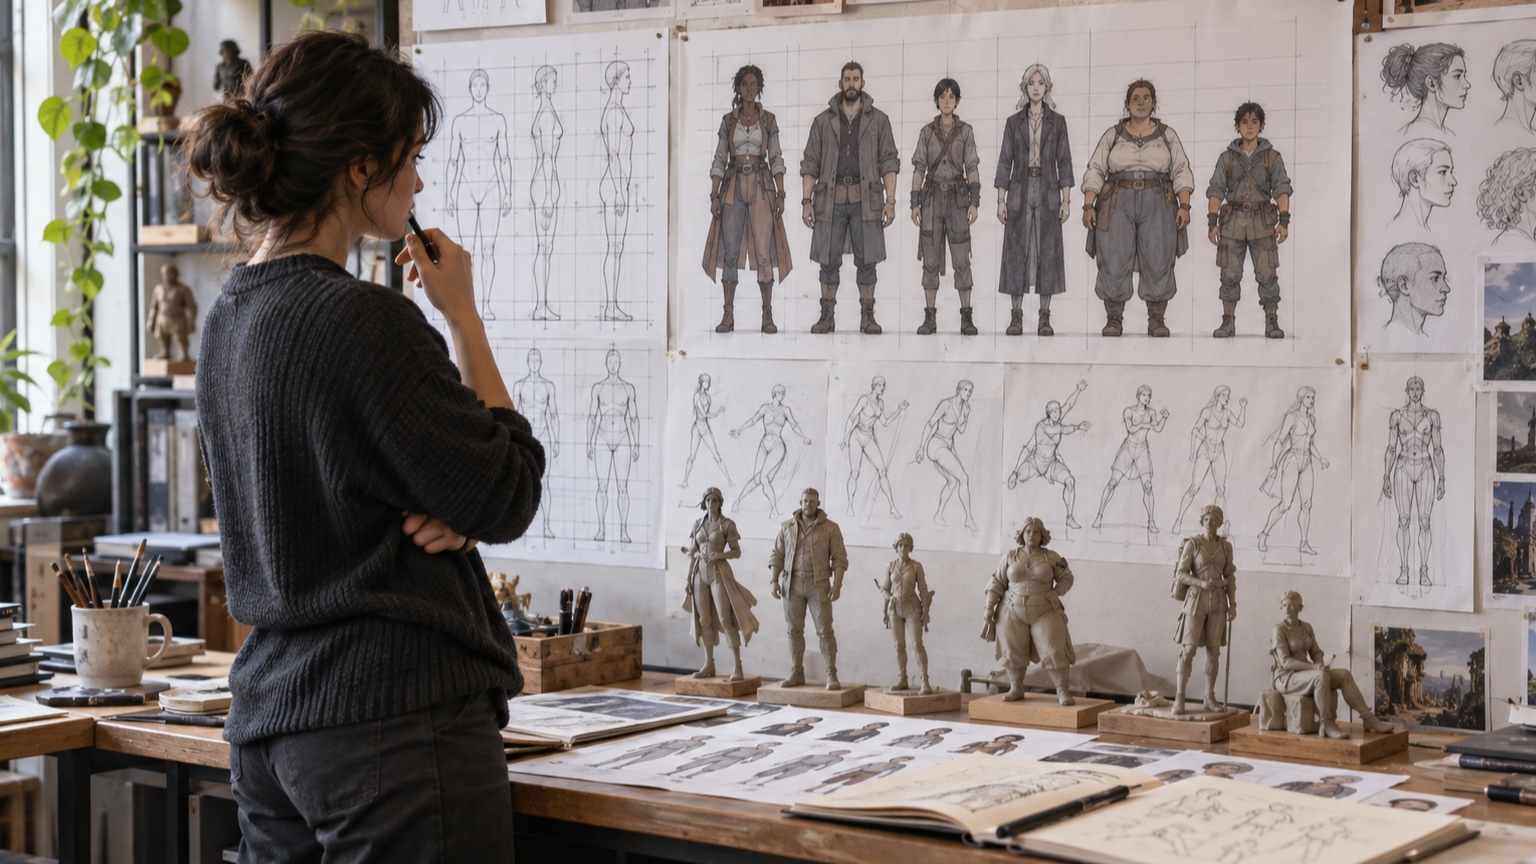
Fill every major character with black and line them up. Compare total height, head-to-body ratio, width, posture, negative space, and prop placement. Color differences will not rescue two cast members who share the same outer structure. Strengthen distinctions that reflect their narrative relationship. A rigid tall figure can contrast with a compressed rounded partner, while shared hand or head construction keeps them in one world. Test common staging pairs, not only the full lineup.
Reduce Detail at Viewing Distance
Shrink the design to its smallest likely appearance and step back from larger physical work. Thin straps, small spikes, and shallow notches may vanish or turn into noise. Merge minor accents into broader shape changes.
Decide which three or four features deserve to survive. Those should receive sufficient size and separation. Save intricate detail for close views where it can reward attention without carrying identity.
Use Value Groups to Support the Contour
After the black-shape test succeeds, divide the design into a few large light and dark groups. Interior value can separate an arm that must cross the torso or reinforce the direction of a costume layer. Keep the grouping as clear as the outline. Avoid tracing every contour with contrast. That produces a cutout effect and weakens depth. Let some edges merge while protecting the ones needed for pose, face, hands, and props.
Translate the Shape Into Volume
Build the silhouette from simple three-dimensional masses and rotate them.
A wide front shape may need a narrow side depth, or a dramatic shoulder point may become a plate wrapping around the torso. Resolve those forms rather than extruding the drawing flatly.
Use clay, paper maquettes, or a basic digital model. Light the volume from several directions and compare its shadows with the approved thumbnails. The character should retain its identity as surfaces turn away from the viewer.
Test Motion and Mechanical Clearance
For articulated or animatronic characters, move joints through their required range while watching the outline. Costume pieces may collide, gaps may close, and rigid features may break the intended contour. Mark the positions where this occurs. Adjust overlaps, pivots, or flexible zones without sacrificing the dominant shapes. Check service poses as well as performance poses. A panel that opens only by destroying a signature silhouette will create maintenance problems.
Document the Approved Silhouette Rules
Save black silhouettes of the key views and poses, plus a cast lineup at one scale. Note the dominant shape family, protected negative spaces, important asymmetry, and features that may simplify at distance.
Include examples that fail—a closed arm gap, shortened prop, or altered shoulder width—so future artists understand the boundary. Good documentation preserves the design logic while allowing new poses and formats. Add a smallest-use example to the sheet. It establishes which features survive at icon size and which may be omitted without changing identity. When the character enters production, compare new poses with this sheet rather than forcing them to copy it. The rules should support turning, acting, and costume changes. If they only preserve one frozen outline, the silhouette system needs another round of testing.