How to Sculpt Dynamic Characters From Start to Finish
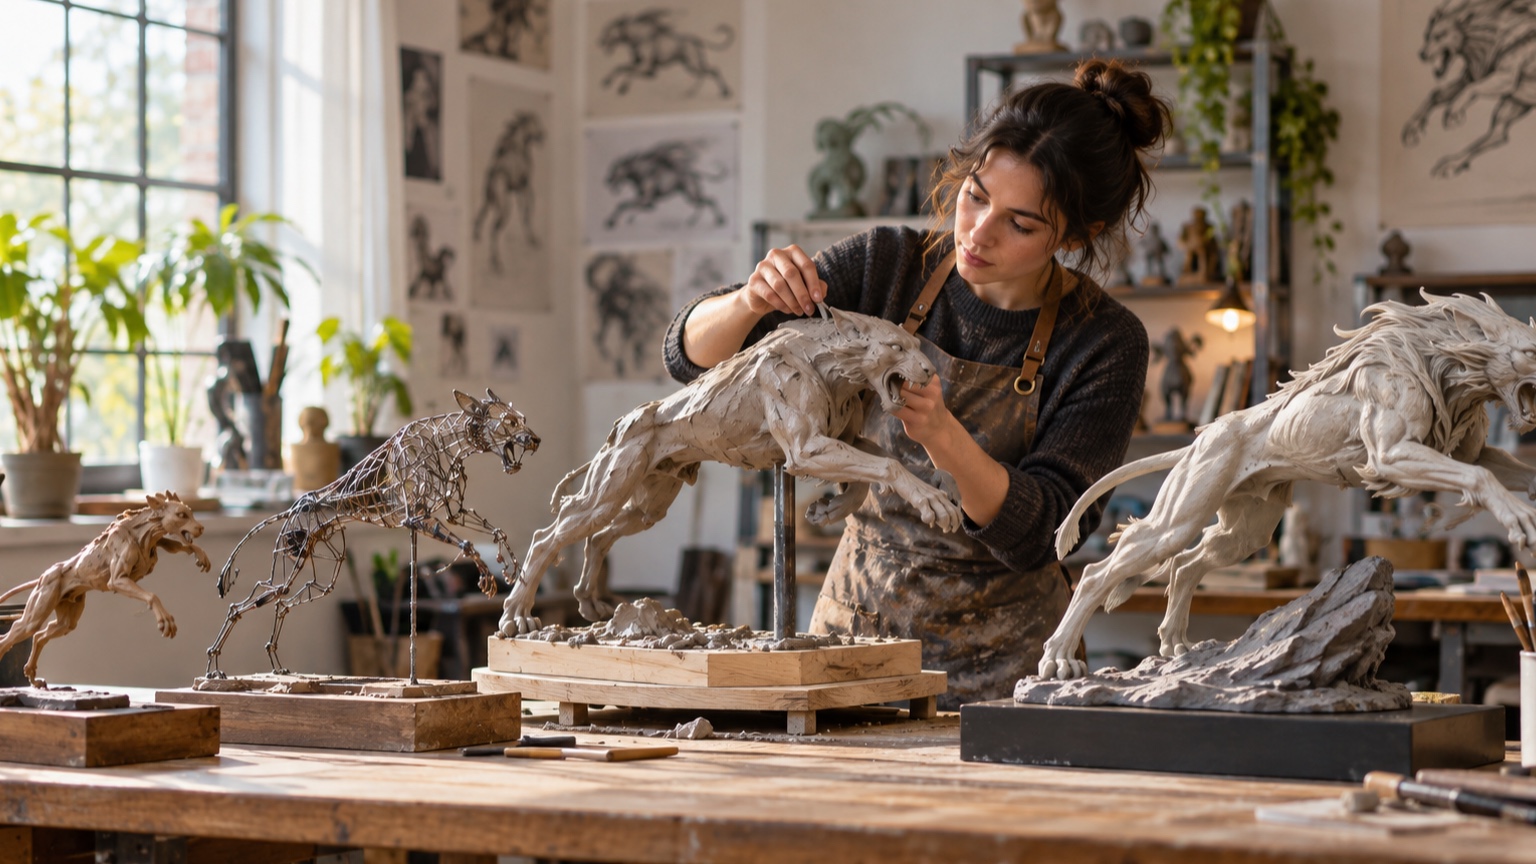
A dynamic sculpture captures an action without depending on literal movement. Its gesture, balance, silhouette, and surface all point toward the same moment. That unity is more important than an extreme pose. A figure can twist dramatically and still feel lifeless if the weight has no support, the limbs create confusing tangents, or the clothing ignores the forces acting on the body. The strongest workflow begins with a focused character brief and a clear gesture line, then builds support, armature, masses, proportions, anatomy, hands, face, clothing, and detail in that order. Each stage protects the energy established by the one before it. This guide covers the full process for clay, wax, epoxy, or digital-to-physical work, including production preparation and final photography. It emphasizes decisions that can be judged from several views, because a sculpture is not a single illustration wrapped around a volume. The goal is a piece that feels poised in time and remains convincing as the viewer walks around it.
A: It should strengthen the main idea, not pull attention away from it.
A: Use the least amount that remains clear at audience distance.
A: Check transitions, side views, extreme ranges, and changing light.
A: Usually. Remove one secondary cue at a time and see whether the result still works.
A: Include the person responsible for the final medium and someone seeing the work fresh.
A: Save the view, settings, materials, limits, and test conditions.
A: Yes. Scale, light, background, and viewing angle can change the result.
A: It should succeed repeatedly under final conditions.
A: No. Inspect the craft up close, then judge the result at audience distance.
A: People add detail before proving the basic setup.
Write a Focused Character Brief
Define who the character is, what is happening, and why this exact moment matters. “A courier braces against a sudden gust while protecting a fragile package” gives the pose a task, obstacle, and emotional priority. Add the intended scale, display height, material, and required viewpoint. Keep the brief narrow enough to guide choices. A long biography rarely helps decide the angle of a shoulder. Select three useful traits—perhaps quick, protective, and exhausted—and use them when gesture or costume options compete. Specify where the sculpture will be seen. A low display pedestal exposes different planes than an eye-level turntable and may require a stronger head angle.
Collect References for Structure and Energy
Gather anatomy, clothing, material, and action references separately. A photograph may have excellent fabric behavior but poor body mechanics, so do not force one image to answer every question. Short video clips are especially helpful for seeing how a pose is entered and released.
Look beyond the exact subject. Dancers, athletes, workers, and animals may reveal the balance or force you need. Organize the references around problems to solve rather than filling a board with images that share only a mood. When possible, act out the pose and notice where pressure, strain, and balance occur in your own body. Even a rough observation can expose an impossible twist.
Draw the Gesture Line
Reduce the pose to one directional sweep through the head, torso, and supporting leg. Add secondary lines for the shoulders, pelvis, and limbs. These marks establish rhythm before anatomy makes the design complicated. Test several gestures as tiny drawings. Change the curve, tilt, and amount of compression rather than adding details. The chosen sketch should remain readable when viewed as a thumbnail and should lead the eye toward the action’s focal point.
Establish Balance and Support
Locate the center of mass and determine how it reaches the base. In a quiet standing pose, it usually falls over the support area. In a leap or fall, the support may be implied by momentum, a prop, or an engineered mount. The visual logic still needs to be clear.
Plan the physical support at the same time. A hidden rod, widened foot, flowing garment, or environmental element can carry weight without contradicting the pose. Do not wait until the sculpture is finished to discover that the most delicate ankle must hold everything.
Draw the support into the concept rather than treating it as engineering added later. A purposeful rock, staff, or trailing cloth shape can strengthen the composition while carrying load.
Build a Reliable Armature
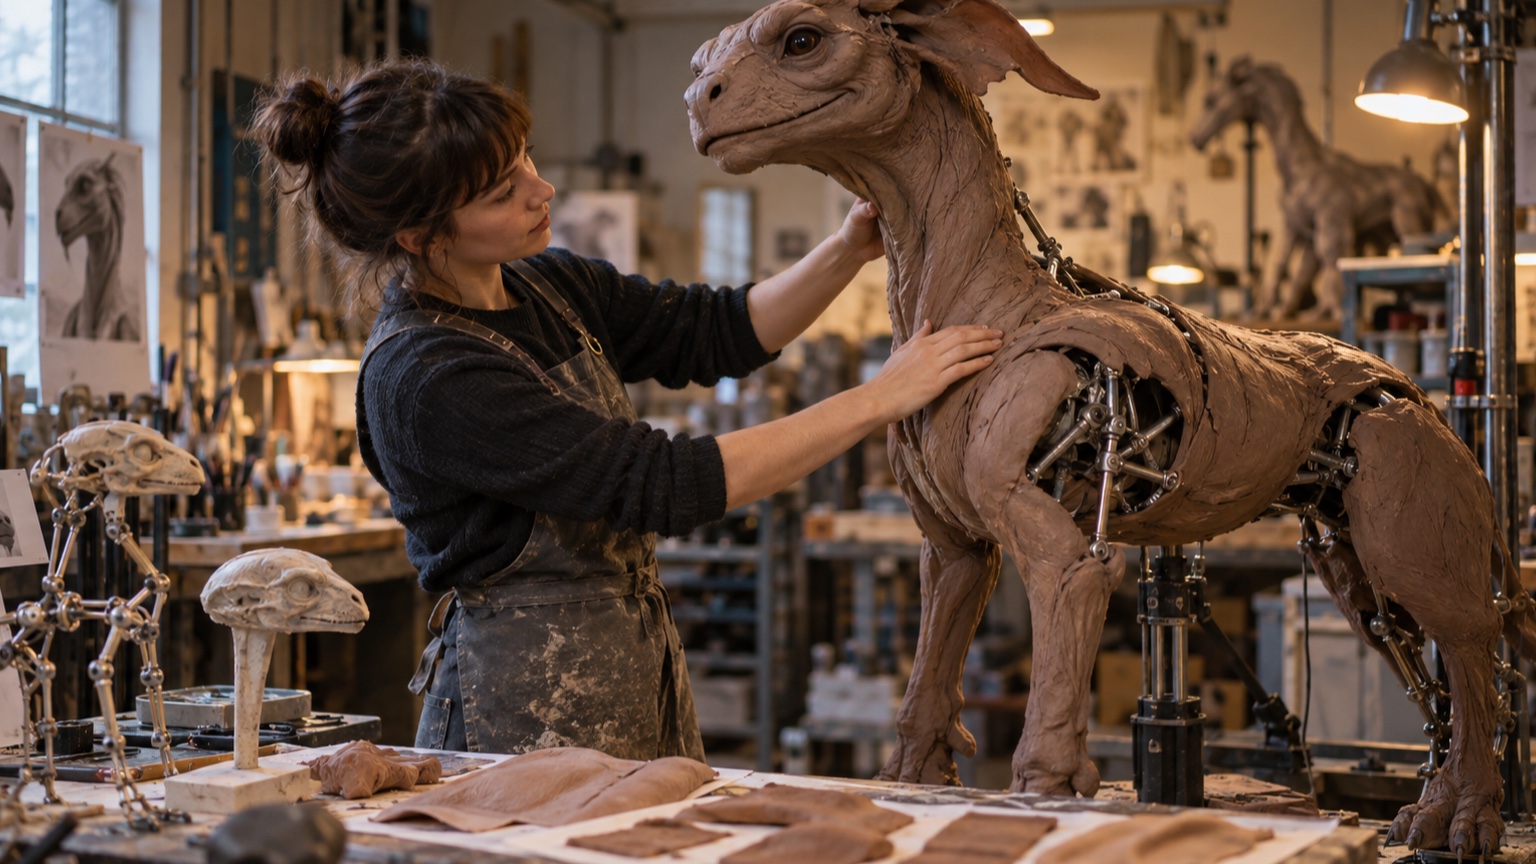
Choose wire and support materials appropriate to the scale and sculpting medium. The armature should hold the pose without springing back, yet remain adjustable during early work. Twist paired wires where strength is needed and protect the sculpting material from exposed sharp ends. Measure major landmarks before bending the final pose. Mark the skull, rib cage, pelvis, elbows, knees, and feet on the wire. Attach it securely to the base and test the piece from all sides; a loose connection will make every later correction uncertain. For heavy clay, bulk the interior with foil, foam, or another compatible lightweight material. Reduced mass makes the armature more stable and the sculpture easier to rotate.
Block the Primary Masses
Add the rib cage, pelvis, skull, and large limb volumes with simple forms. Keep them separate enough to show overlap and rotation. At this stage, a torso may be an egg-like volume and a pelvis a tilted block; precision matters less than their relationship.
Walk around the sculpture frequently. Compare front-to-back depth as carefully as width. If the pose only works from the concept-art angle, adjust it now. Large masses are easy to move before anatomy locks them together. Use a mirror or phone photograph to interrupt familiarity. Reversed and flattened views often reveal leaning masses or uneven limbs that the eye has learned to ignore.
Set Proportions Before Anatomy
Check head size, torso length, limb relationships, hand and foot scale, and the distance between major joints. Use calipers or a simple measuring strip, but evaluate the visual effect as well as the numbers. Foreshortening in a turned pose can make correct dimensions appear wrong from one view. Resolve deliberate stylization consistently. If the character has a short torso and long legs, carry that rule through the armature and masses rather than stretching only the visible leg. Correct proportion gives anatomy a stable framework.
Turn Gesture Into Three-Dimensional Rhythm
The original gesture line must now work through depth.
Let the rib cage turn against the pelvis, allow one side of the torso to compress, and use overlapping limbs to continue the flow around the figure. Avoid arranging every important form on one flat plane.
Trace the movement with your eye from several angles. A strong front view may reveal a dead straight line from the side. Redirect the head, elbow, hand, or trailing foot so the rhythm survives the walk-around experience.
Construct Anatomy Around the Action
Build muscles as forms responding to the pose, not as labels pasted onto the body. The supporting leg bears weight differently from the free leg. A reaching shoulder changes the chest and back, and a twisting torso compresses one flank while stretching the other. Start with large anatomical groups and soften boundaries where flesh, fat, or costume would obscure them. Use reference to understand attachment and direction, then return to the whole figure. Overstated anatomy can freeze the gesture under a collection of separate parts.
Design Hands and Feet as Action Shapes
Hands reveal intention. A protective grip, relaxed reach, and clenched effort require different spacing through the palm and fingers. Block the hand as a wedge with a directional thumb before separating digits. Keep finger rhythms varied and avoid parallel rows.
Feet anchor the figure or complete a line of motion. Show how the sole contacts the base, where weight rolls, and whether toes grip or release. Slightly enlarged hands and feet may improve readability at small scale, but the choice should match the character’s proportion system.
Sculpt the Face for the Same Moment
The face should belong to the body’s action. A strained torso with a calm portrait head feels assembled from different moments. Set head angle, gaze, and jaw before refining features, then use lids, brows, cheeks, and mouth corners to support the chosen intention. Keep expression readable from the primary view without making it grotesque from the side. Check the facial masses in simple light. Fine wrinkles should follow compression already present in the larger forms rather than substitute for it.
Build Clothing From Force and Material
Establish the garment’s construction and material weight before sculpting folds.
Seams, waistbands, closures, and attachment points determine where fabric can move. Heavy cloth forms broad folds; thin fabric produces smaller, sharper changes.
Map tension from grips, bends, wind, and gravity. Let compressed folds gather near joints while stretched areas carry longer lines. Do not cover the figure with evenly spaced wrinkles. Quiet fabric makes the active folds easier to understand.
Add Secondary Forms Selectively
Secondary forms include smaller muscles, tendons, garment layers, hair groups, and structural details. Add them where they clarify action, material, or character. Keep areas outside the focal path simpler. Work across the entire sculpture instead of finishing one patch. Detail density should rise toward important features and fall away elsewhere. If a new form interrupts the silhouette or gesture, reshape it even if it is individually well observed.
Check Negative Space and Silhouette
Look at the gaps between limbs, torso, props, and base. These negative spaces help separate the action and can echo its direction. A hand merging with the hip or a weapon crossing the face may hide important information.
Rotate the piece against a plain background and photograph several angles as black silhouettes. Adjust overlaps rather than forcing every limb outward. The aim is clarity with believable relationships, not a star-shaped pose.
Refine Planes Before Texture
Define the planes that turn forms toward and away from light. Clean cheek, rib cage, limb, and cloth planes create structure at viewing distance. Lumpy transitions cannot be repaired by pores, scratches, or fabric weave. Use broad raking light and remove surface noise while refining. Alternate adding and scraping so the piece does not continually grow. When highlights travel smoothly over intended forms, the sculpture is ready for finer treatment.
Apply Texture at the Correct Scale
Texture should describe material and support the focal hierarchy.
Skin, leather, woven cloth, hair, and weathered metal require different marks. Test tools on a separate sample so pattern depth matches the sculpture’s scale and casting process.
Vary texture with wear and form. Contact areas may be smoother, folds may compress a weave, and broad highlights may need quieter surfaces. Step back often; detail that looks convincing inches away can turn into gray noise at display distance.
Prepare the Sculpture for Production
Review undercuts, thin projections, parting lines, keys, drain paths, and attachment points before molding or scanning. Separate vulnerable parts if doing so improves casting and assembly. Preserve registration across any cut. Discuss shrinkage, material thickness, reinforcement, and finish with the production team. A detail that exists in clay may not survive molding, casting, cleanup, or paint. Make a final correction pass with the actual process in mind.
Photograph and Hand Off the Final
Photograph the sculpture with a consistent lens, neutral background, and controlled light. Capture the primary view, full rotation, close details, scale reference, and construction features hidden after assembly. Avoid dramatic lighting in the only documentation set.
Include the brief, dimensions, material notes, color or finish references, assembly order, and known fragile areas. Mark the approved orientation on the base. A complete handoff lets another craftsperson reproduce the intended energy instead of guessing from one beauty image. Store one neutral documentation set without dramatic depth of field or color grading. Production questions need clear evidence more than presentation polish. Back up the photographs with a slow turntable video at consistent exposure. The continuous view shows how overlaps change and where the sculpture’s rhythm weakens between still angles. Include the armature plan and part breakdown in the same delivery folder.